
Creating Gif animated image using photoshop
1.creating a new photoshop a Document by pressing ctrl+N.Then set
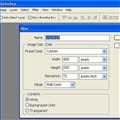 the value width400 pixels and height 200 pixels.
changing other option values is not necessary for this project.just set in height and
width.
2.now cha
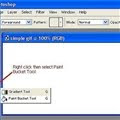 nge background color to black or any other colors you want.
Right click the gradient tool and select paint bucket tool.
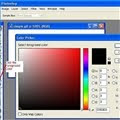 3.change the color by click on the foreground color and choose the color and want to use.
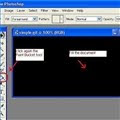 4.Then click the paint bucket tool again and click on your document to fill its content with paint bucket.
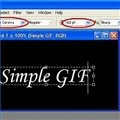 5.Then click the horizontal tool and click on your document type the text you want to display.if u want to text type and font type and font color.just the top of the value on the top of the scree.and set font type you want to display.
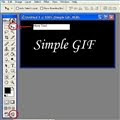 6.Then click the icon image ready icon or press Ctrl+Shift+M.Your application will transform now Adobe photoshop to Image Ready.There we will starting to animate the image.Check ur selection still is it on horizontal type.click on the move tool and click on jump to image Ready.
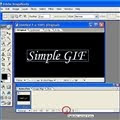 7.now there are situation that are document has blue lines on it.just ignore.under the monitor you will see the animation window.
Click on the duplicate current frame icon,its the icon that looks like paper.
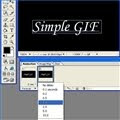 8.The animation window will now add new animation frame .Then set its time to one seconds by clicking the"0 sec" caption the new frame created.
9.Th
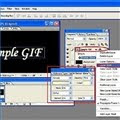 en layer window "right click" the text window and select the layer style and select the quter glow.Your will now have Glowing effect.
Then the animation window again to add more one frame.
1
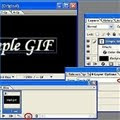 0."Right click select the text layer and select "clear style type""
11.
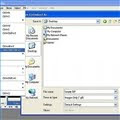 Now we are finished the project.lets save our work.by clicking file menu save in that Gif file.
No comments:
Post a Comment